 Save
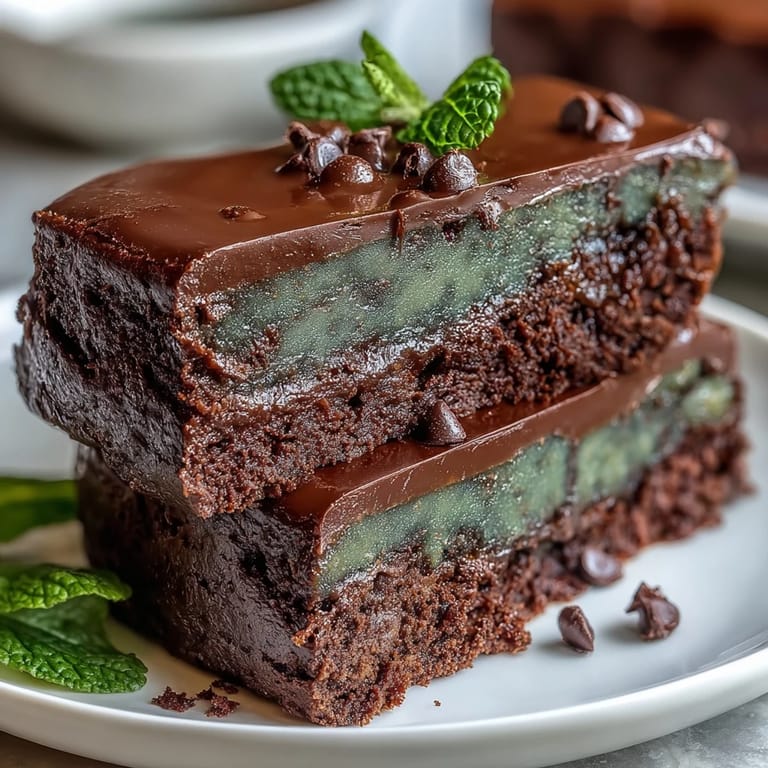
Save My coworker Sarah brought these to the office on March 16th, and I watched them disappear within twenty minutes—faster than any dessert I'd ever seen. She'd made them for St. Patrick's Day but had extras, and when I bit into one, I understood the frenzy: that perfect fudgy center, the cool mint whisper, and dark chocolate chips that somehow tasted better in miniature form. I asked for the recipe immediately, and now every year around this time, I find myself pulling out my mini muffin tin with the same excitement I had as a kid on baking day.
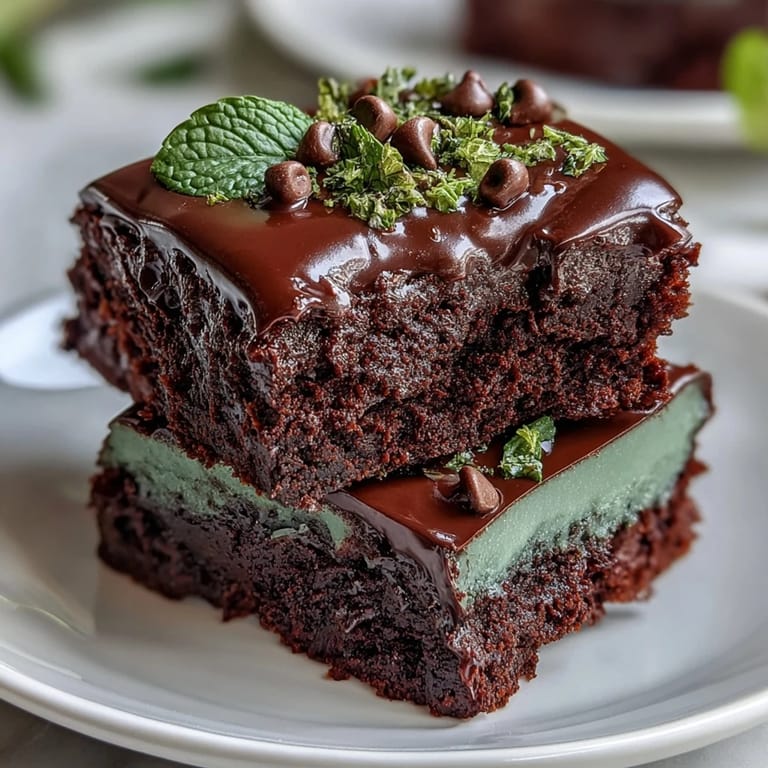
I made these for a St. Patrick's Day potluck last spring, nervous that a mint-chocolate dessert might feel out of place among the traditional green everything. But my friend Marcus grabbed three while still in line for the main course, and by the time we'd finished eating, there were only crumbs left on the plate. Someone even asked if I'd made them from scratch, which is when I knew Sarah's recipe had officially become mine to share.
Ingredients
- All-purpose flour: The 3/4 cup keeps these dense and fudgy rather than cakey—don't be tempted to add more or you'll lose that melt-in-your-mouth quality.
- Unsweetened cocoa powder: This is your chocolate backbone, so grab good quality if you can; it makes a real difference in depth.
- Baking powder: Just 1/2 teaspoon gives these a tiny bit of lift without making them fluffy.
- Salt: A pinch of salt in brownie batter is non-negotiable—it wakes up all the chocolate flavors.
- Unsalted butter, melted: Melting it slightly cooled prevents scrambling the eggs when you whisk them in, which I learned the hard way.
- Granulated sugar: One cup creates that glossy, crackly surface that makes these look professionally made.
- Eggs: Room temperature eggs blend more smoothly into the butter-sugar mixture, creating better texture throughout.
- Pure vanilla extract: Don't skip this—it actually enhances the chocolate flavor instead of competing with it.
- Peppermint extract: 1/2 teaspoon is the sweet spot; any more and you're basically eating an after-dinner mint.
- Green food coloring: Optional, but it makes them look festive without tasting artificial if you use just 2-3 drops.
- Mini chocolate chips: The mini size matters here because they distribute more evenly in the small bites and you get chocolate in every single one.
- Andes mints or mint chocolate pieces: These are the optional wild card that pushes the mint flavor from background whisper to featured player.
Tired of Takeout? 🥡
Get 10 meals you can make faster than delivery arrives. Seriously.
One email. No spam. Unsubscribe anytime.
Instructions
- Get your oven ready:
- Preheat to 350°F and grease your mini muffin tin or slip liners into each cup. Cold tins make the batter spread too thin, so warm is your friend here.
- Combine the dry ingredients:
- Whisk flour, cocoa powder, baking powder, and salt together in a medium bowl until there are no cocoa lumps hiding anywhere. This step is worth the 30 seconds because lumps turn into bitter pockets in your brownies.
- Blend butter and sugar:
- In a large bowl, whisk melted butter with sugar until the mixture looks like wet sand and feels slightly grainy. This creates the structure that makes these bites fudgy instead of greasy.
- Add the eggs and extracts:
- Crack in your room-temperature eggs one at a time, whisking well after each, then add vanilla and peppermint extracts. If using green food coloring, add it now and whisk until the color is even—you want minty green, not swamp green.
- Fold in the dry mixture:
- Add the flour mixture to the wet ingredients and fold gently with a spatula until just combined, about 15 seconds. Overmixing develops gluten, which makes brownies tough, and we're going for fudgy here.
- Stir in the chocolate and mint pieces:
- Fold in the mini chocolate chips and any Andes mints you're using, being careful not to crush them into dust. A few larger pieces of chocolate throughout look beautiful and taste intentional.
- Fill the muffin tin:
- Spoon batter into each cup until about 3/4 full—too much and they'll overflow into your oven, creating a mess and unevenly baked bites. Top with a few extra chocolate chips if you want them extra special.
- Bake until just done:
- Bake for 13-15 minutes until a toothpick comes out mostly clean with a few moist crumbs clinging to it. Remember, carryover cooking continues as they cool, so slightly underbaked is better than overbaked.
- Cool properly:
- Let them sit in the tin for exactly 5 minutes before transferring to a wire rack. This gives them just enough time to set without sticking, and attempting to move them too early is a disaster I've lived through.
 Save
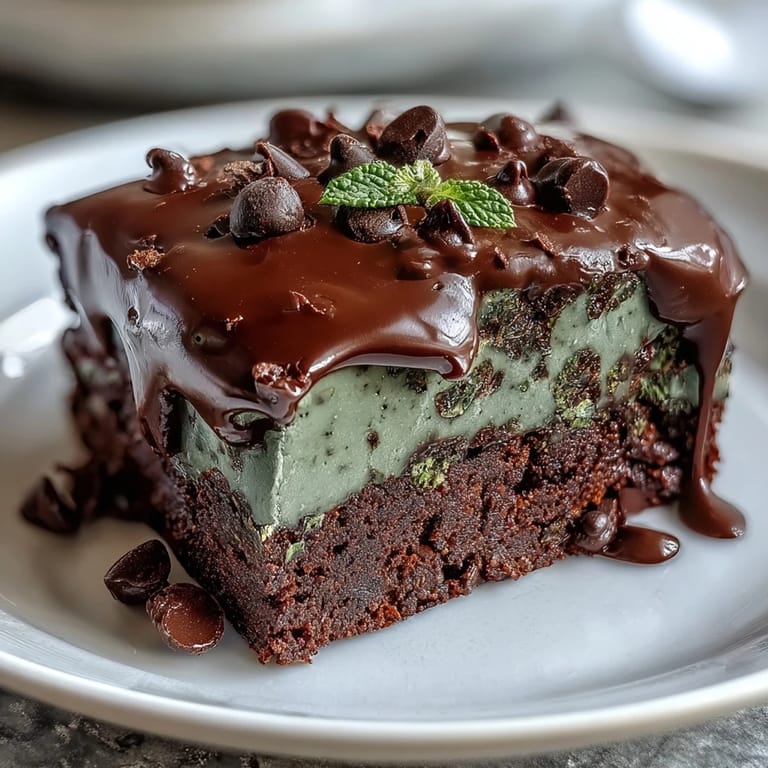
Save I brought a box of these to my neighbor's house one afternoon, and she served them to her book club that evening. She texted me the next day saying they sparked a twenty-minute discussion about whether mint and chocolate was a flavor combination that worked, and surprisingly, everyone agreed it did. That's when I realized these little bites had somehow become conversation starters.
The Mint-Chocolate Magic
The genius of peppermint with chocolate is that they're actually old friends; think of every Christmas candy you've ever loved. The mint doesn't overpower but instead creates a cool backdrop that makes the chocolate taste richer and more intense. It's like adding a tiny bit of lemon to chocolate cake—you don't taste the lemon, but suddenly the chocolate sings louder.
Making Them Ahead for Parties
These freeze beautifully, which is a game-changer if you're prepping for a gathering. I make them three days ahead, store them in an airtight container at room temperature, and they taste fresher than ones made the morning of. If you want to freeze them, pop them in a freezer bag for up to two weeks, and just thaw for 10 minutes before serving.
Customizing Your Bites
The beauty of this recipe is how forgiving it is when you want to make them your own. I've added crushed candy canes instead of Andes mints, doubled the chocolate chips, and even swapped the green coloring for red once just because I had it on hand. The base stays stable no matter what small swaps you make, which means these are perfect for experimenting.
- If you skip the peppermint extract, you get a classic chocolate brownie bite with a festive green tint—still delicious, just less minty.
- Chopped white chocolate instead of Andes mints creates a completely different flavor profile that's somehow even more impressive.
- Make them in a regular muffin tin instead if mini tins aren't your thing—just add 3-4 minutes to the baking time and check with that toothpick.
 Save
Save These mint chocolate chip brownie bites have somehow become my signature St. Patrick's Day contribution, and I wouldn't have it any other way. They're proof that sometimes the best recipes aren't the complicated ones—they're the ones that make people smile and ask for seconds.
Recipe FAQs
- → Can I omit the green food coloring?
Yes, the green food coloring is optional and does not affect the flavor, only the festive appearance.
- → What is the best way to store the brownie bites?
Store the brownie bites in an airtight container at room temperature for up to 5 days to maintain freshness.
- → Can I substitute Andes mints with another mint chocolate?
Absolutely, mint-flavored chocolate bars or chips work well as substitutes, adjusting to your taste preference.
- → How do I ensure the brownies stay fudgy?
Be careful not to overbake; remove when a toothpick has moist crumbs attached, preserving the fudgy texture.
- → Is it possible to make this dairy-free?
You can try substituting butter with a plant-based alternative, but it may slightly change texture and taste.